Home
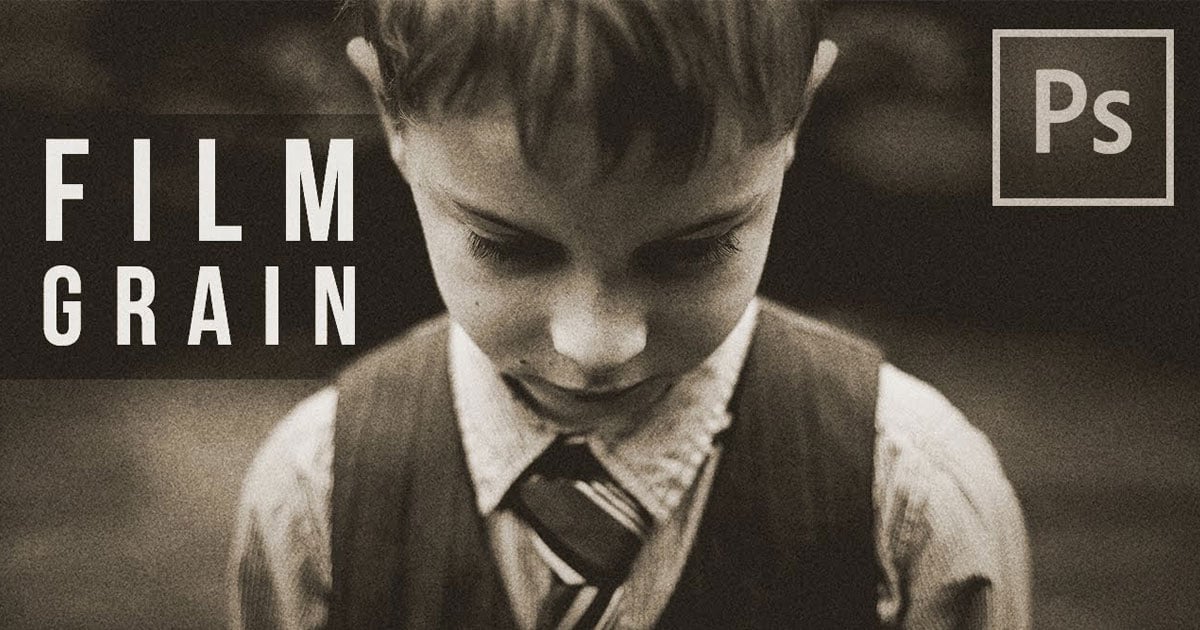
/ Add Photo To Photoshop - How To Add Noise Film Grain To Your Images In Photoshop Purple11, In the add noise dialog box, use the following film grain effect photoshop settings:
Add Photo To Photoshop - How To Add Noise Film Grain To Your Images In Photoshop Purple11, In the add noise dialog box, use the following film grain effect photoshop settings:
Add Photo To Photoshop - How To Add Noise Film Grain To Your Images In Photoshop Purple11, In the add noise dialog box, use the following film grain effect photoshop settings:. Here's a quick summary of the steps for when you need it: Open your base image in photoshop, and add your secondary images to another layer in the same project. Notice that the file has multiple layers and this easily accommodates the process of updating the file to include your own custom imagery. Also ensure that the anchor is set to the center square, and then click ok. Open both your main image and the texture image in photoshop.
See all of our photoshop selection tool tutorials. In photoshop, open your photo, then press ctrl+j (win) / command+j (mac) to duplicate the background layer. It will show you the tricks to resizing the image without it pixelating and. Armed with your subject image, you need to tell photoshop which part (or parts, if you're trying to add multiple people) you want. One layer is your main image, and the other is the texture.
How To Install Brushes In Photoshop from www.howtogeek.com You can use the eraser tool from the toolbox to remove the background, or circle the background with one of the lasso tools and then delete it. Start by locating the image you want to add from your computer. Open a second photo in photoshop. Want to know how to add shadow to an object or person in photoshop? This will open one photoshop document with two layers. Invert the layer mask to black and use the brush to paint over the part of the image you want to colorize. Insert the logo into the picture to be watermarked. You can import an image to photoshop from both a computer and a mobile device.
Adding an image to a canvas in photoshop method 1:
Go to the photoshop and press the plus icon from the bottom corner. Choose image > canvas size, make sure the relative checkbox is selected, and type the number of pixels to add around the image. Open a second photo in photoshop. Add it to the photo. In photoshop, open your photo, then press ctrl+j (win) / command+j (mac) to duplicate the background layer. Drag it into position and resize it if necessary. Make sure that the shadow is correct and realistic and your whole picture will get a more realistic feel! Find an image you want to add to your photoshop composition, use your mouse to (control + click) then, select copy. Insert the logo into the picture to be watermarked. Drag the refine edge tool that your mouse turned into around small sections of the edges and watch as photoshop improves the accuracy of what it selected. Be sure, the layer enclosing the photo selected. Apps like adobe bridge, adobe photoshop lightroom, and other file browsers will be able to read it and enable you to filter by them. Go to the photoshop canvas which you want the picture added to and paste
Insert the logo into the picture to be watermarked. This will open one photoshop document with two layers. It will show you the tricks to resizing the image without it pixelating and. Zeitlich unbegrenzte adobe cs6 lizenzen zum bestpreis. Resize, drag, and drop your images into position.
How To Add Another Page In Photoshop Cc Quora from qph.fs.quoracdn.net There are several ways to do this: Want to know how to add shadow to an object or person in photoshop? Notice that the file has multiple layers and this easily accommodates the process of updating the file to include your own custom imagery. Press and hold ctrl (win) / command (mac) and, in the layers panel, click the new layer icon to add a new blank layer between the two existing layers. If you're ready to get more amazing images using photoshop,. Drag inside the border to position the added image where you want it. Pick the image that you want to insert. Click the lock icon on its layer in the layer panel to unlock transparency.
See all of our photoshop selection tool tutorials.
Wind up adding back parts of the foreground image that you don't actually want in the final combined image. One layer is your main image, and the other is the texture. Add images to the adobe cloud. Now, click on the select option from the top menu bar and then click all in order to select the whole image. While you can import unlimited images in the computer version of photoshop, you will need to use an app other than photoshop express to work with more than one image. Click the lock icon on its layer in the layer panel to unlock transparency. Each number is split between edges, so entering 200 pixels in each field results in a border width of 100 pixels. Open picture b, the one you wish to select something from to add to another picture. Apps like adobe bridge, adobe photoshop lightroom, and other file browsers will be able to read it and enable you to filter by them. Most importantly, we added a shadow. On headshots, the edges around hair often need to be improved. Also ensure that the anchor is set to the center square, and then click ok. Your image will be placed onto your canvas and appear as a new layer in the layers panel.
Go to the folder of the image that you want to create a new layer. Open picture b, the one you wish to select something from to add to another picture. Pick the image that you want to insert. Here's a quick summary of the steps for when you need it: Select the logo's layer and change the blending mode to darken.
3 Ways To Add High Quality Film Grain Using Photoshop Petapixel from petapixel.com Choose file > place embedded, navigate to an image file in file explorer (windows) or finder (macos), and click place. Press and hold ctrl (win) / command (mac) and, in the layers panel, click the new layer icon to add a new blank layer between the two existing layers. On headshots, the edges around hair often need to be improved. In photoshop, open your photo, then press ctrl+j (win) / command+j (mac) to duplicate the background layer. (if you are proceeding with one layer, the 2nd image will act as a background layer). It's the app that has a blue square that says ps in the middle. Invert the layer mask to black and use the brush to paint over the part of the image you want to colorize. Choose image > canvas size, make sure the relative checkbox is selected, and type the number of pixels to add around the image.
Open the file named hand1_transparent.psd in photoshop.
With your image selected, drag and drop it into your open photoshop project. Choose a new name and location for the file. Drag it into position and resize it if necessary. Hold the shift key to avoid distorting the image, and drag the corners of the image border to resize the added image. Using the photo filter tool; This will open one photoshop document with two layers. Insert the logo into the picture to be watermarked. One layer is your main image, and the other is the texture. Open your logo image in photoshop and copy it across to the photo you want to watermark. Be sure, the layer enclosing the photo selected. Click the lock icon on its layer in the layer panel to unlock transparency. Use one of the selection tools, e.g. Select the logo's layer and change the blending mode to darken.